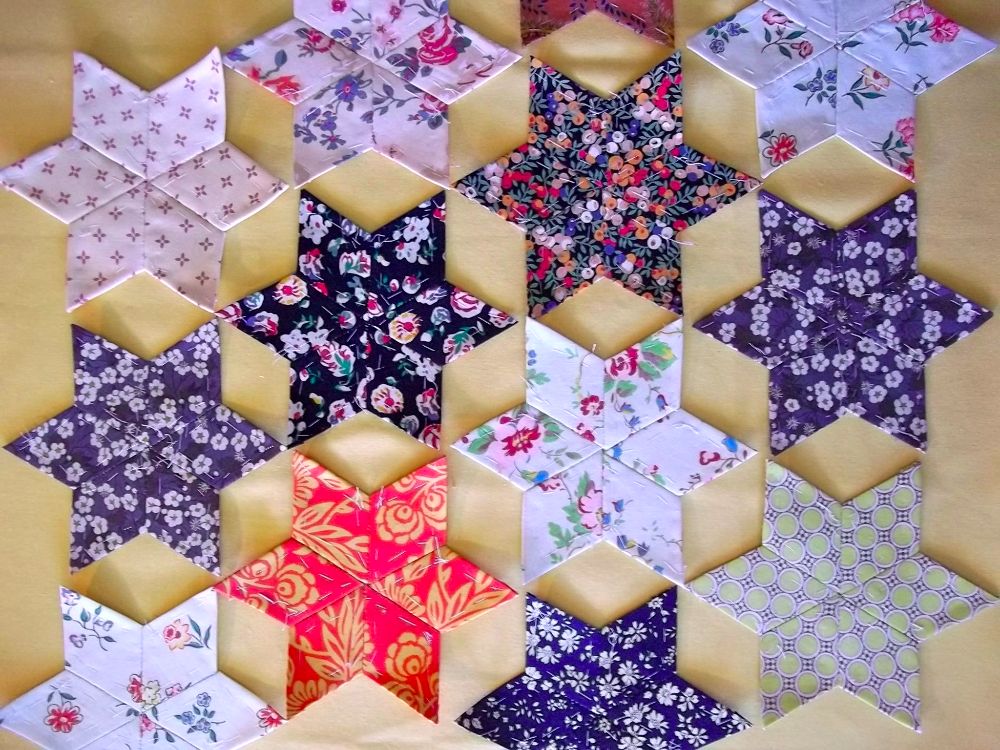
Altar frontal: 6 point patchwork stars in temporary lay out
Saturday 1 June: Third Meeting
For this meeting I thought we would begin by making some six point stars which will make up much of the altar cover. A star like this has the merit of being an easy unit for individual people to work on at their own pace. In addition each star can be completed quite quickly which is encouraging in itself. When a few are laid out as above there is a real sense of progress and this is further encouraging.
I used to have an aluminium template for patchwork diamonds but, as ever, it is the one thing I couldn’t put my hand on when I needed it. So, it was back to square one with graph paper, compass and protractor – the construction lines can just about be seen in the photograph below.
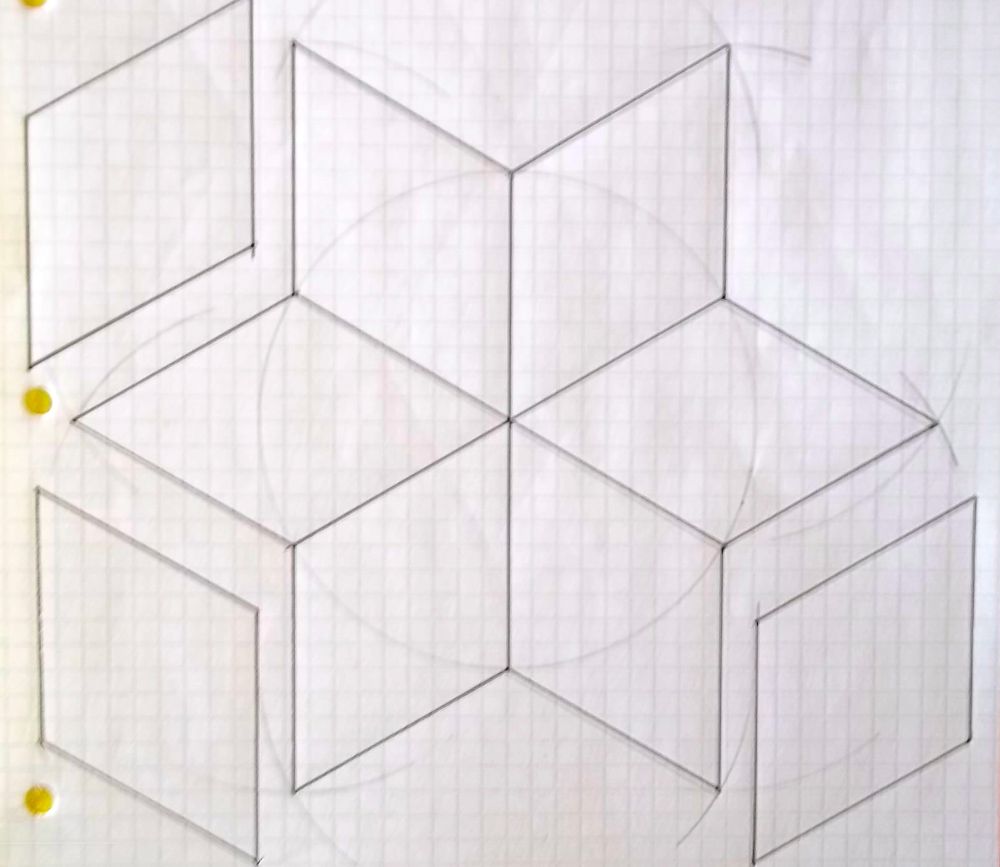
Construction of diamond patchwork template using compass and protractor
Draw a circle of chosen radius – in this case 5 cm. Mark the diameter and put the protractor along this. Mark out angles of 60 degrees in the top semicircle and then do the same for the lower semicircle. Now link opposite points on the circle so that you now have drawn in three diagonals. Put the compass point on each of the points where the diagonal touches the circumference and, still with your compass at 5 cm, draw two arcs, one to each side of the point where the compass is anchored. When this has been done this for each of the points on the circumference, six sets of crossed arcs will be visible. These each form the apex of a diamond which is clearly visible when lines are drawn linking these points to the six points on the circumference. I added additional diamonds and then photocopied this sheet – just 20 times to begin with; more can easily be done later.
The following photos show stages in the folding of fabric over the paper and the only reason I have bothered to show this is that the quilt will have a smoother finish if the acute angle of the diamond has the fabric folded neatly in the manner described. It’ s not essential to do it this way but in the long run it is neater.
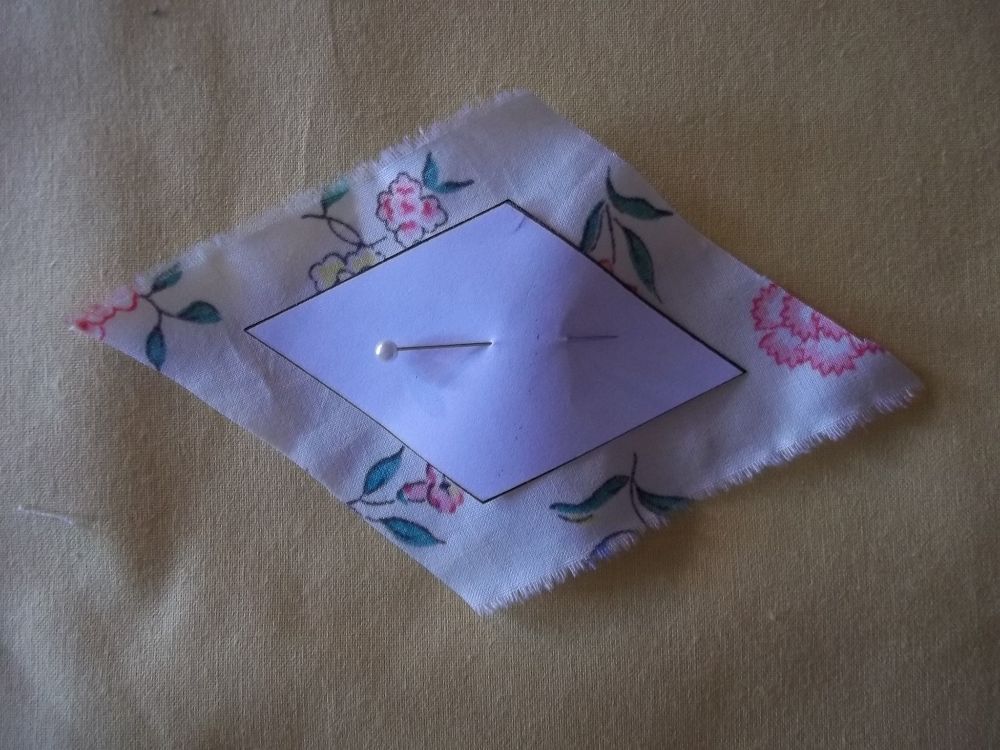
1. Diamond paper and cut fabric.
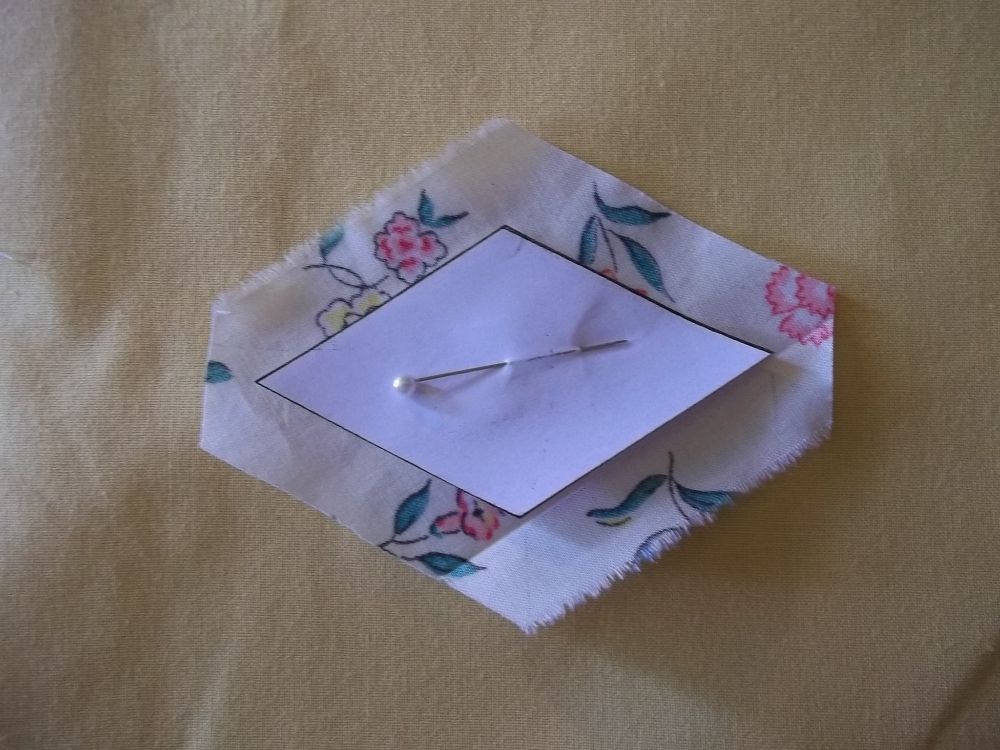
2. Trim points off fabric.
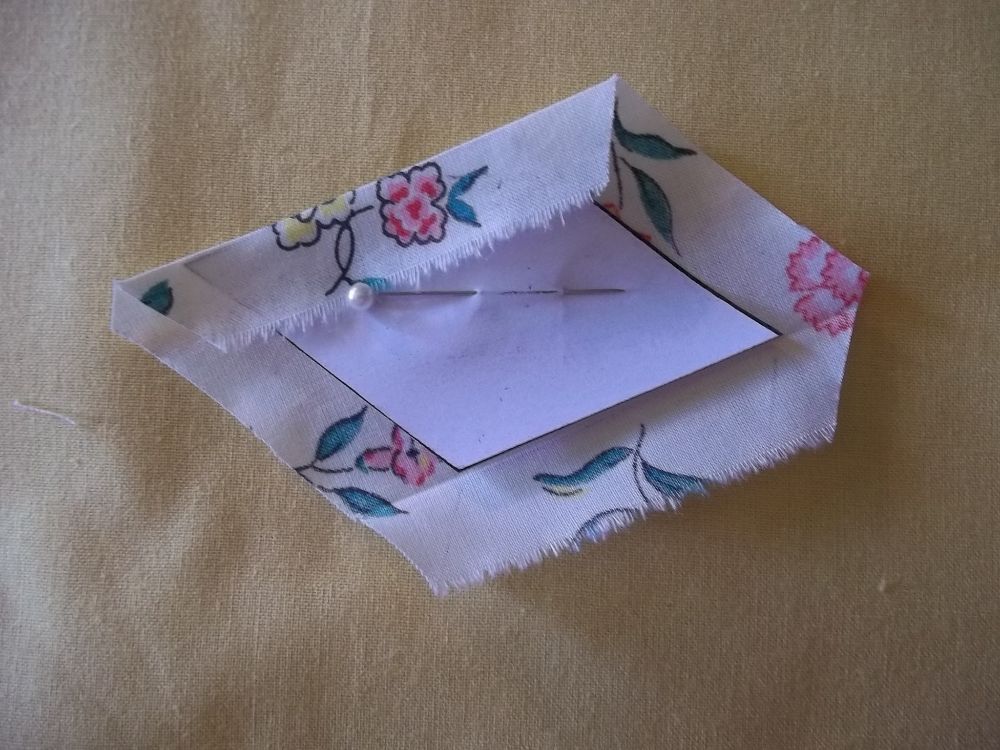
3. Fold over long side of fabric.
4. Fold tip of fabric over so that the outer edge of the fold above the left point is now lying along the lower edge of the diamond.
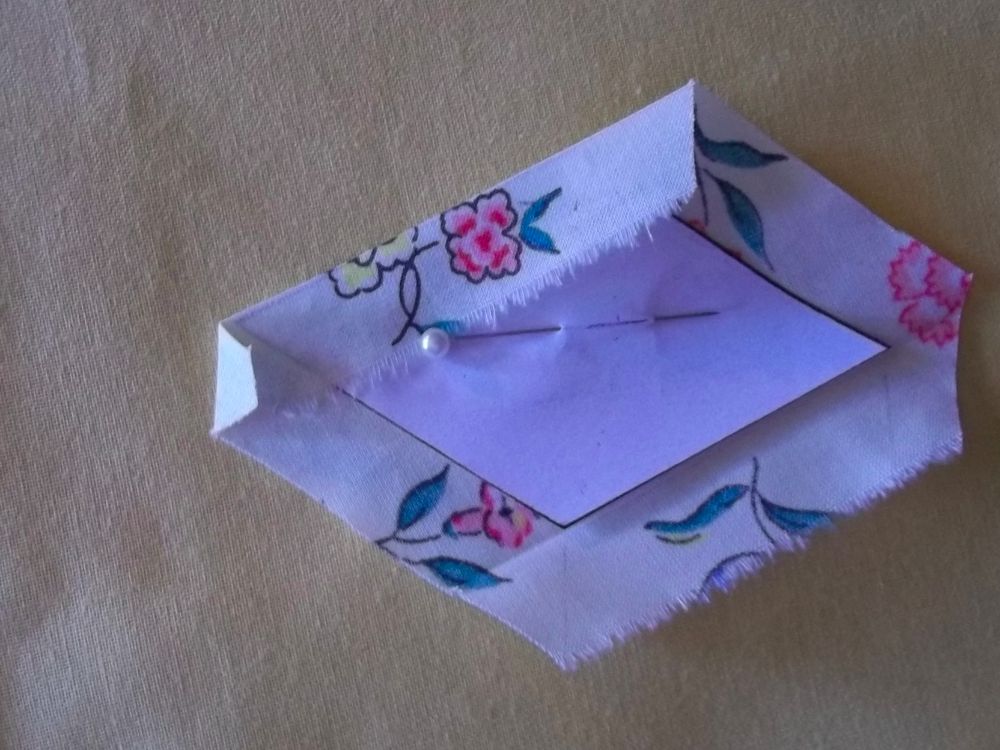
5. Now fold the next side as above. (Pinned above so that it is clear how it has been done but, when sewing, pinning is not necessary.)
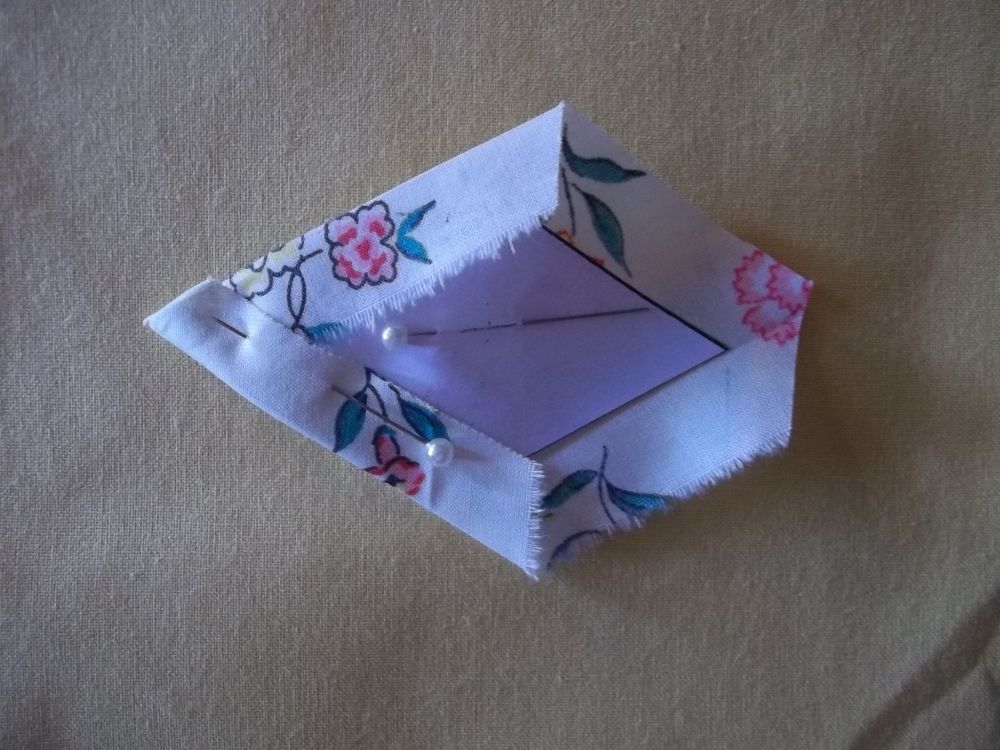
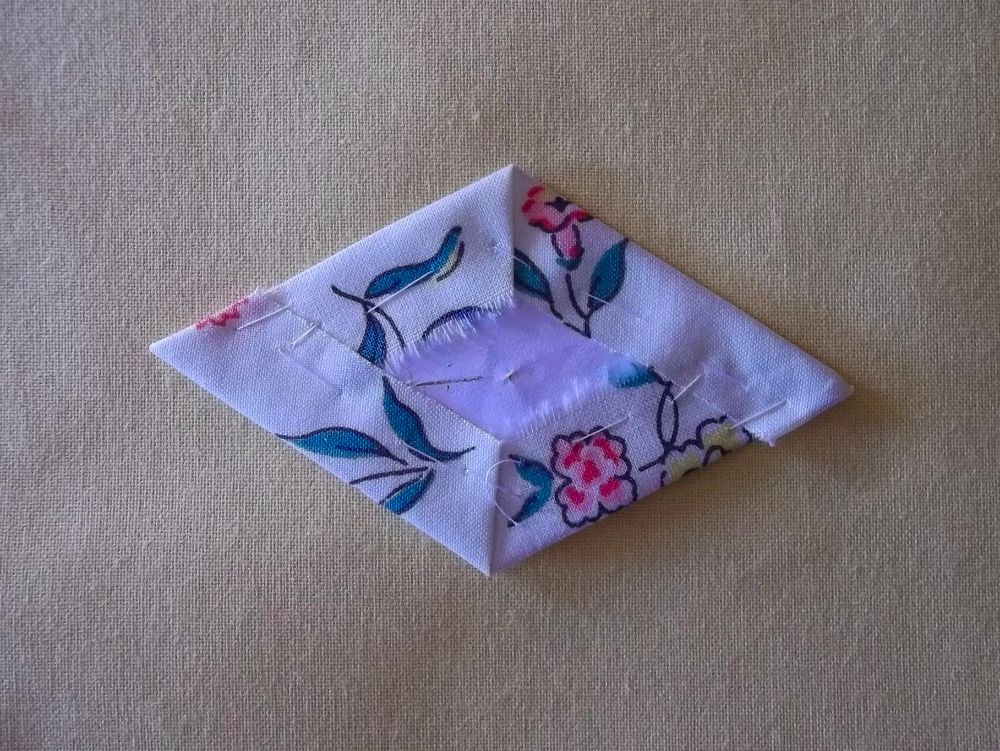 6. Folded and tacked piece – note it may be useful to take additional stitches to secure the point.
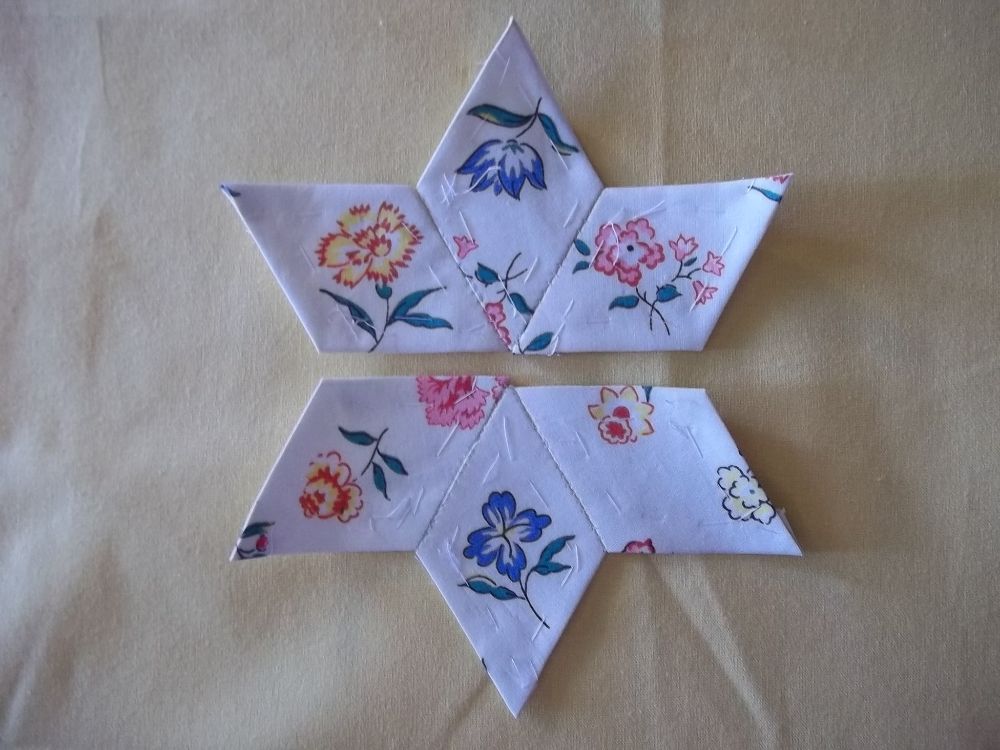
7. Slip stitch 3 diamonds together. Don’t worry if the straight line is not perfect, the great thing about fabric is that it will give and stretch to accommodate the unevenness.
 8. Slip stitch the two sets of three diamond together to form the star.
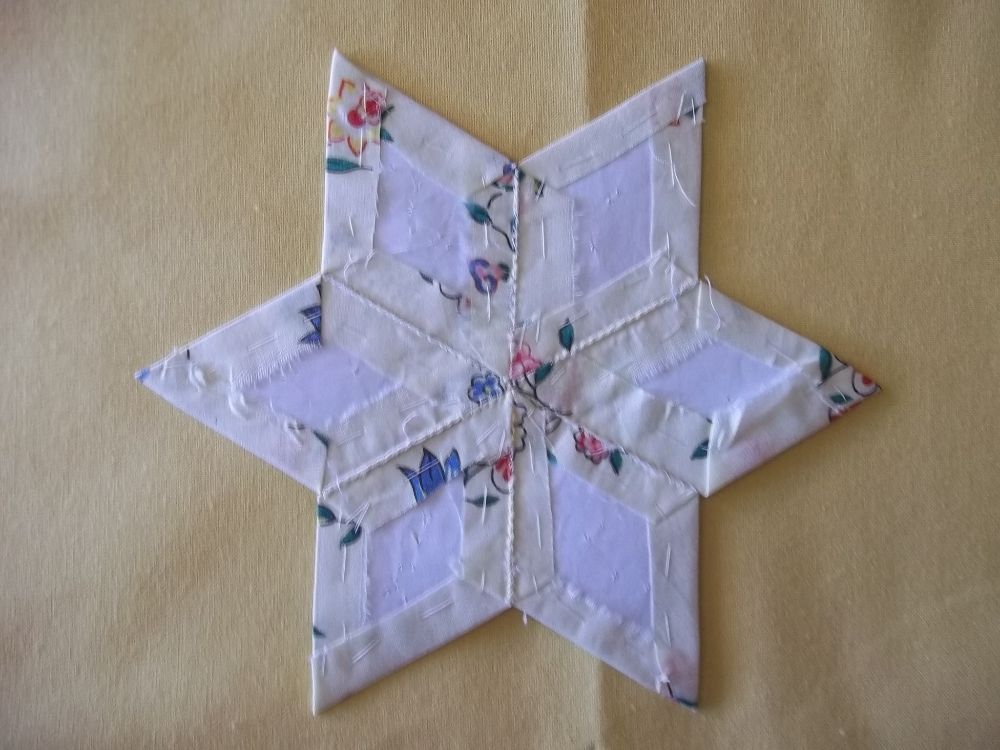
9. Make more stars.
There are now about 12 stars completed and more were taken to be finished at home. The yellow will be used to make diamonds to link the stars but at present the stars have just been placed on the yellow to give an idea of whether the colours will work together.