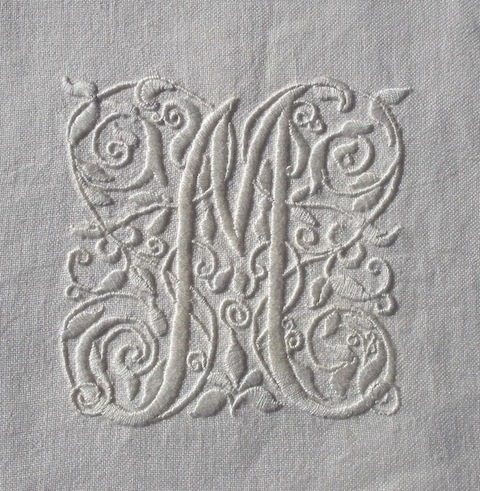
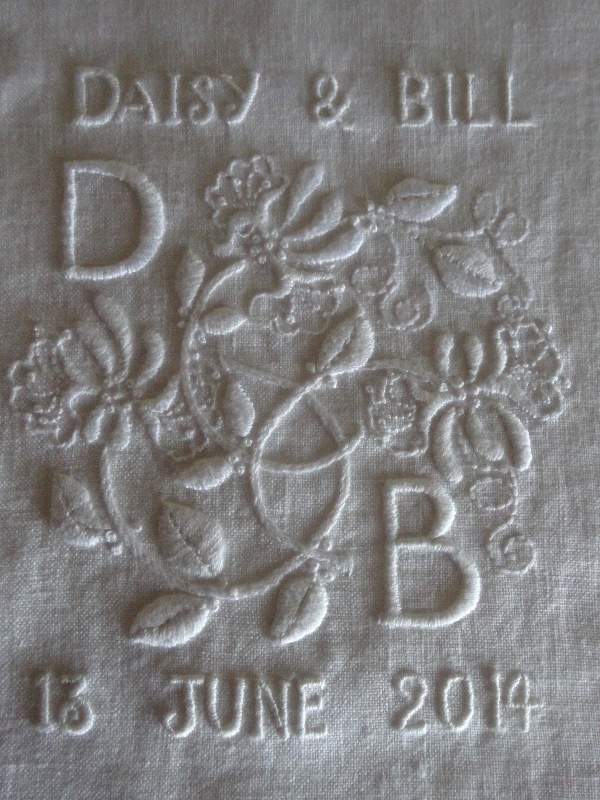
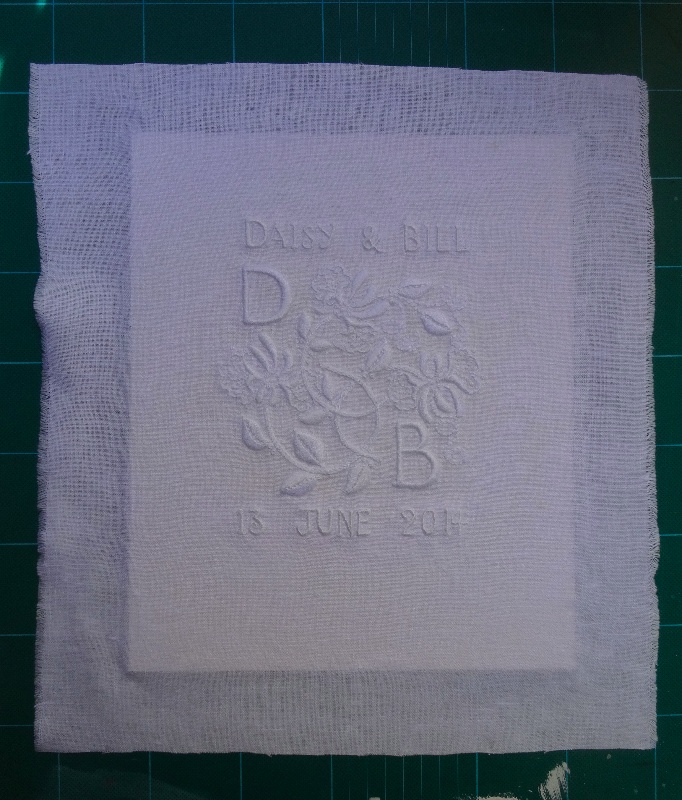
D & B wedding monogram (hand embroidered by Mary Addison)
While recently life has been far from monochrome, in terms of embroidery I seem to have got stuck in the white on white rut. Not that I don’t love whitework but it does make for a bit of a challenging blog, particularly as I find the photography so difficult. I quite like the photo above as light conditions produced strong shadows and made the embroidery appear more chunky. Overall, however, the photograph is a bit too grey…
A summer wedding, so how could I resist my old favourite, the honeysuckle? Symbolically, with reference to the ties that bind, the plant is just right for a wedding; in design terms curving stems, frilly flower heads and spiralling tendrils are just too much fun to ignore. People often ask me where ideas for designs come from and I don’t always have a clear reply. In this case, however, I was much taken by the art art nouveau brooch shown below which gave me the structure for my 3 honeysuckle twigs.
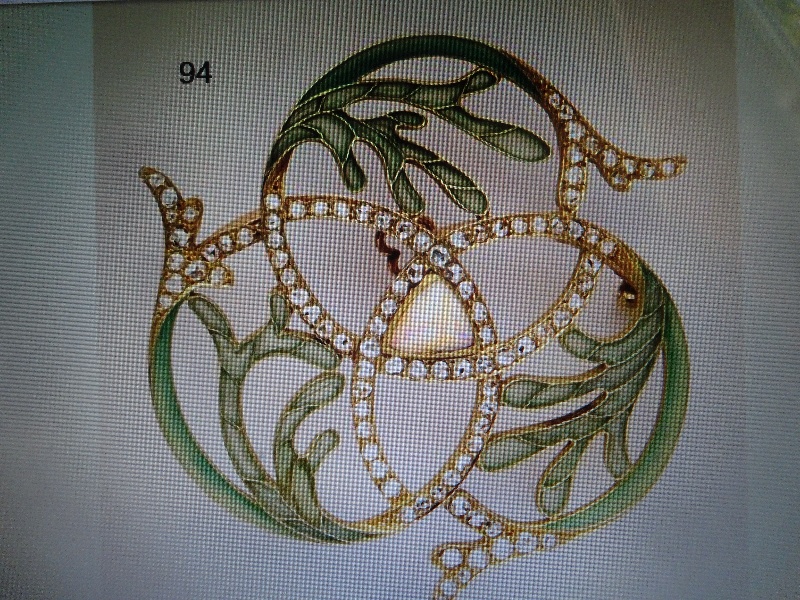
Art Nouveau brooch, probably French
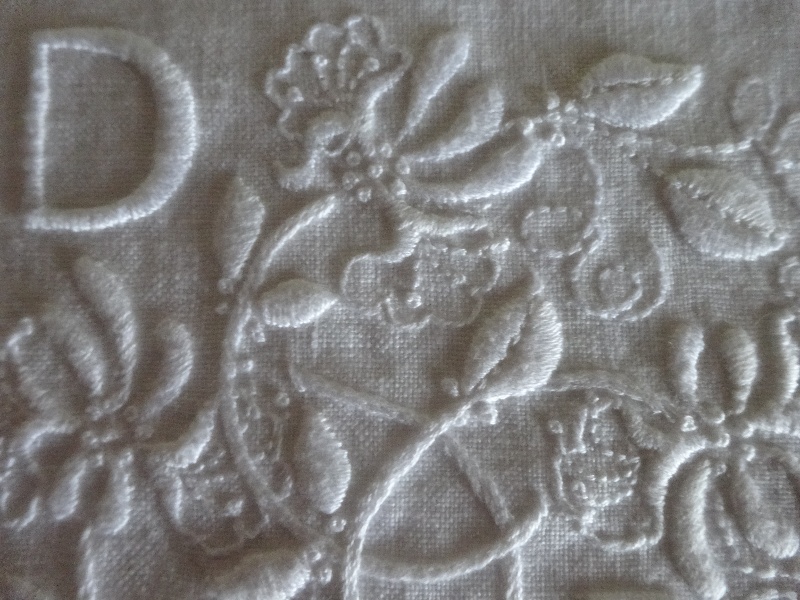
D & B wedding monogram with honeysuckle: detail (hand embroidered by Mary Addison)
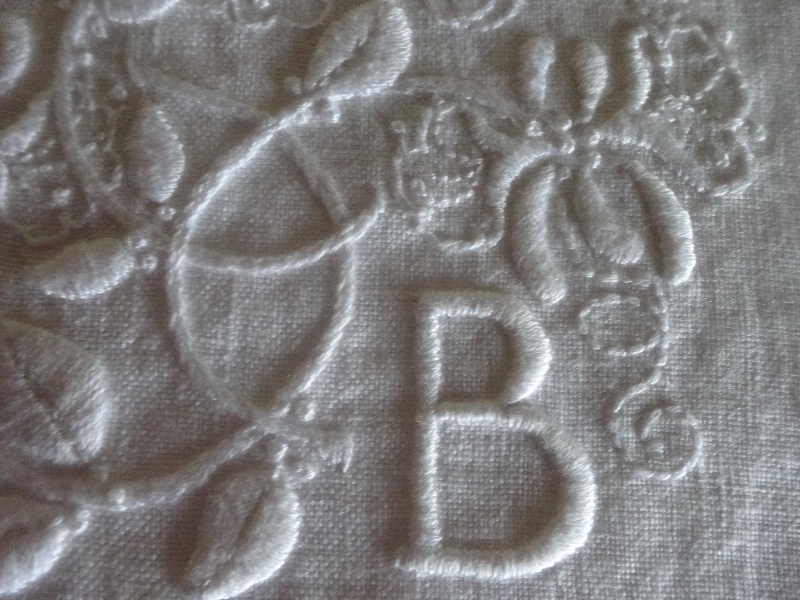
D & B wedding monogram with honeysuckle: detail (hand embroidered by Mary Addison)
I mounted this on card using Stitchery Tape which produces a lovely flat, unpuckered background to the embroidery. Stitchery Tape is essentially double sided sticky tape but with the added bonus of being of archival quality with no tendency to yellow or show through the fabric. (Really hope so!)
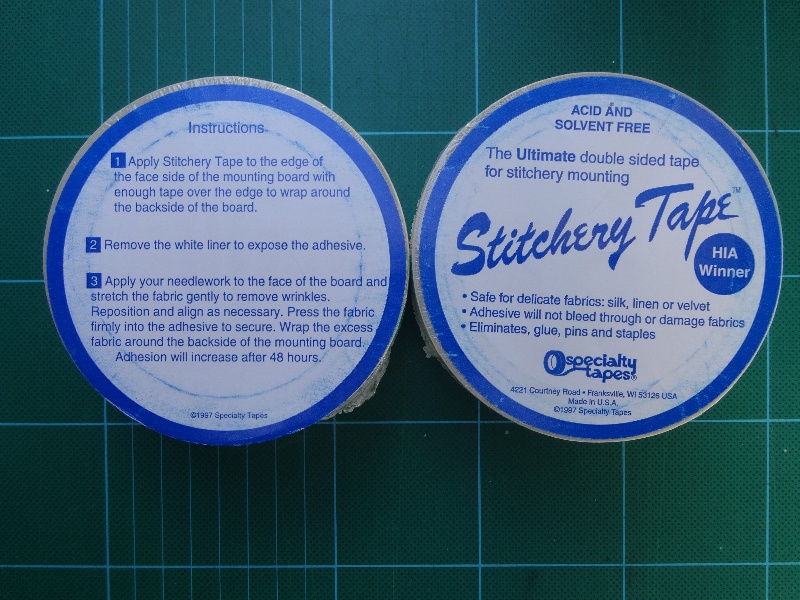
Stitchery Tape
1.If you have s box frame that you want to use, first cut a piece of card to fit (erring ever so slightly on the small side as the fabric when folded over will add to the card’s dimensions).
2. Lay strips of Stitchery Tape across the right side of the card and when you have covered it, trim the ends of the tape to match the card.
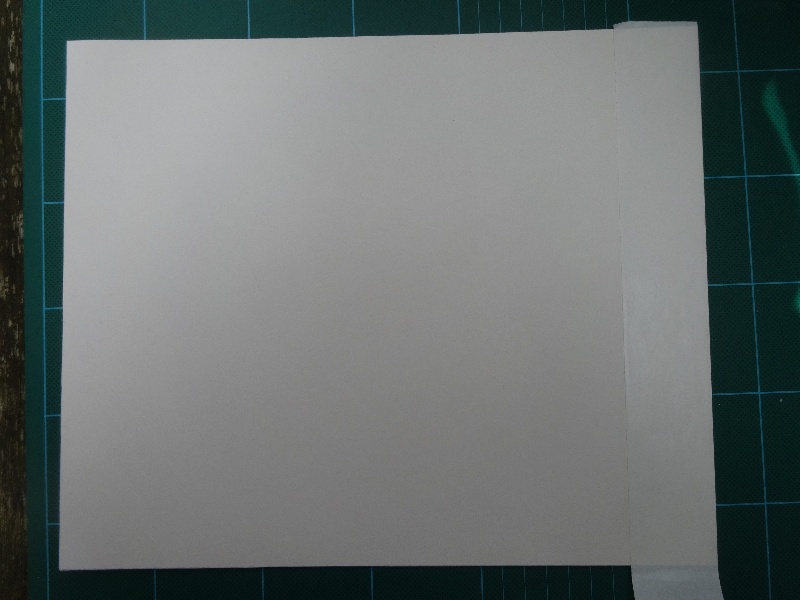
Stitchery Tape: first strip applied
3. Carefully peel away the upper layer of the tape, taking care as the surface of the card is now very sticky,
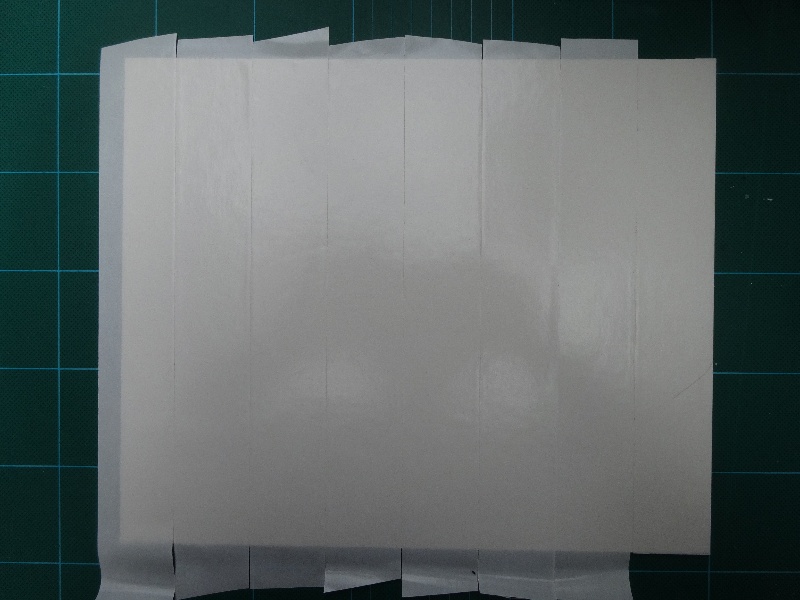
Backing card for embroidery: Stitchery Tape applied, strip by strip, over the whole surface. Ends of tape not yet trimmed.
4. Place the embroidery on to the sticky surface. (It often helps to have someone to hold the fabric up while you gently lower it in place.) You should be able to pick it off and move it about but I find it’s better if you can be pretty accurate to begin with.
Embroidered fabric laid on to card to which Stitchery Tape has been applied.
5. Fold the edges of the spare fabric over the card on to more strips of Stitchery Tape. Some people mitre the corners but I find that too bulky.

D & B monogram, mounted and framed
Before I started using Stitchery Tape I would spend hours mounting my embroideries. First of all you need card thick enough for pins to be stuck in to its thickness to hold the fabric in place and then, when you’ve finished grappling with that (because the pins keep falling out) you have to lace the raw edges of the fabric together on the back of the card. Keeping threads sufficiently tight to keep the fabric taut is tricky – well, it’s all tricky and when finished there’s almost always a little patch that looks a bit rumpled. Whe you get used to this method, it is incredibly easy … and much quicker.
2 Comments
It’s true that lacing takes a long time, and can be frustrating. I do know people who enjoy doing it, and I think they are nuts!
That’s great if you enjoy doing it and if you have the time, although I think this method does produce a smoother, completely unwrinkled finish.